Step-by-Step Guide: Installing VMware ESXi 7.0 from Scratch
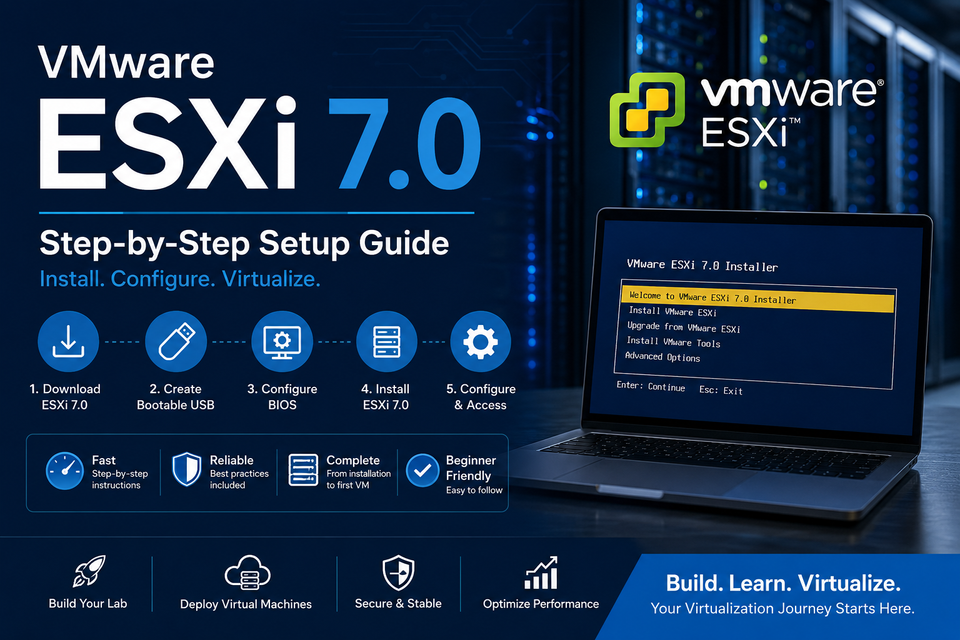
Build your own virtualization lab with VMware ESXi 7.0
Introduction
VMware ESXi 7.0 is a Type-1 (bare-metal) hypervisor that allows you to run multiple virtual machines on a single physical server. Whether you're building a home lab, preparing for VMware certification, or deploying virtualization in production, ESXi remains one of the industry's leading hypervisors.
In this guide, we'll walk through the complete installation process—from downloading the installer to accessing the ESXi web interface.
Prerequisites
Before starting, make sure you have the following:
Hardware Requirements
| Component | Minimum | Recommended |
|---|---|---|
| CPU | 64-bit, 2 cores | Intel Xeon / AMD EPYC or Ryzen |
| RAM | 4 GB | 16 GB or more |
| Storage | 32 GB SSD | 120 GB+ SSD |
| Network | 1 Supported NIC | Intel Server NIC |
Tip: ESXi 7.0 works best when installed on SSD or NVMe storage. VMware recommends avoiding low-end USB or SD card boot devices for new installations because of increased write activity in ESXi 7.0.
What You'll Need
- VMware ESXi 7.0 ISO
- USB Flash Drive (8GB or larger)
- Rufus (Windows) or Balena Etcher
- Physical Server or Compatible PC
- Keyboard and Monitor (or iLO/iDRAC/IPMI)
Step 1 – Download VMware ESXi 7.0
Download the ESXi 7.0 ISO from the Broadcom Support Portal.
Make sure you download the version that matches your hardware vendor if available (Dell, HPE, Lenovo, Cisco, etc.).
Vendor-customized ISOs include optimized drivers for your hardware.
Step 2 – Create a Bootable USB
Using Rufus:
- Insert your USB drive.
- Open Rufus.
- Select the ESXi ISO.
- Partition Scheme:
- MBR (Legacy BIOS)
- GPT (UEFI)
- Click Start.
After completion, safely eject the USB.
Step 3 – Configure BIOS
Enter the server BIOS.
Enable:
- Intel VT-x or AMD-V
- Intel VT-d (optional)
- UEFI Boot (recommended)
- Disable Secure Boot if unsupported
Set the USB drive as the first boot device.
Save and reboot.
Step 4 – Boot the ESXi Installer
After booting from USB, you'll see:
Loading VMware ESXi Installer...Wait a few moments.
The installer will initialize the hardware.
Step 5 – Start Installation
When prompted:
Welcome to VMware ESXi 7.0 InstallerPress
ENTERto continue.
Step 6 – Accept the License Agreement
Read the EULA.
Press
F11to accept.
Step 7 – Select Installation Disk
The installer detects available storage devices.
Example:
Samsung SSD 870 EVO
120 GB

Kingston NVMe
500 GB
Choose the drive where ESXi will be installed.
Press:
ENTERStep 8 – Select Keyboard Layout
Usually:
US DefaultPress Enter.
Step 9 – Create the Root Password
Create a strong password.
Example:
Username:
root

Password:
************
Requirements:
- 8+ characters
- Uppercase
- Lowercase
- Number
- Symbol
Press Enter.
Step 10 – Confirm Installation
The installer warns that the selected disk will be erased.
Press:
F11Installation begins.
Usually takes:
5–10 minutes.
Step 11 – Reboot
When installation completes:
Installation Complete

Remove Installation Media

Press ENTER to Reboot
Remove the USB installer.
Press Enter.
Step 12 – First Boot
ESXi loads.
Eventually you'll reach the Direct Console User Interface (DCUI).
Example:
VMware ESXi 7.0

Press F2 to Customize
You'll also see a DHCP-assigned IP address if one is available.
Step 13 – Configure the Management Network
Press:
F2Login:
Username:
root

Password:
********
Navigate to:
Configure Management NetworkConfigure Network Adapter
Select:
Network AdaptersChoose the physical NIC connected to your network.
Configure IPv4
Navigate:
IPv4 ConfigurationSelect:
Static IPv4Example:
IP:
192.168.0.20

Subnet:
255.255.255.0

Gateway:
192.168.0.1
Configure DNS
Primary DNS:
8.8.8.8

Secondary DNS:
1.1.1.1

Hostname:
esxi01
Restart Management Network
Press:
ESCChoose:
YesThe Management Network restarts.
Step 14 – Access the Web Interface
From another computer, open:
https://192.168.0.20Ignore the SSL warning.
Login:
Username:
root

Password:
********
You'll now access the ESXi Host Client.
Step 15 – Create a Datastore
Navigate:
StorageIf a datastore wasn't created automatically:
New DatastoreChoose:
- VMFS 6
- Entire Disk
Finish.
Step 16 – Configure Licensing
Navigate:
Host

Manage

Licensing
Choose:
Assign LicenseEnter your VMware license key.
If you don't have one, ESXi runs in Evaluation Mode for 60 days.
Step 17 – Upload ISO Files
Navigate:
Storage

Datastore Browser
Create folders:
ISO

Templates

VMs
Upload:
- Windows ISO
- Ubuntu ISO
- Rocky Linux
- VMware Tools
Step 18 – Create Your First Virtual Machine
Click:
Virtual Machines

Create/Register VM
Select:
Create New VMExample:
Name:
Ubuntu01

Guest OS:
Ubuntu Linux 64-bit

CPU:
2

Memory:
4096 MB

Disk:
40 GB
Attach the ISO.
Power it on.
Recommended Post-Installation Tasks
- Configure NTP
- Enable SSH (only when needed)
- Configure DNS
- Configure Hostname
- Create VM Network Port Groups
- Configure VLANs
- Set Power Policy to High Performance
- Configure Local Users and Roles
- Enable Lockdown Mode (production)
- Configure Backups
- Install VMware Tools on guest VMs
- Monitor host health
Troubleshooting
No Compatible Network Adapter Found
Cause:
Unsupported NIC.
Solution:
- Verify your hardware against the VMware Compatibility Guide.
- Use a vendor-customized ESXi ISO with the appropriate network drivers.
No Storage Devices Found
Possible causes:
- RAID controller not configured
- Unsupported storage controller
- NVMe driver issue
Check BIOS and RAID settings before reinstalling.
Cannot Access Web UI
Verify:
- Static IP
- Gateway
- DNS
- Network cable
- Firewall
- HTTPS (port 443)
Test connectivity:
ping 192.168.0.20Purple Screen of Death (PSOD)
Common causes:
- Unsupported CPU
- Faulty RAM
- Driver incompatibility
- Hardware failure
Check server logs and firmware versions.
Best Practices
- Use SSD or NVMe for the ESXi boot device.
- Keep firmware and drivers updated.
- Use static IP addresses for management.
- Back up the ESXi host configuration regularly.
- Install vendor-customized ESXi images when available.
- Use NTP to keep host time synchronized.
- Store ISO files on a dedicated datastore.
- Avoid enabling SSH permanently in production.
Conclusion
Installing VMware ESXi 7.0 is a straightforward process that provides a powerful foundation for virtualization. After installation, you can begin deploying virtual machines, configuring networking and storage, and building a home lab or production environment.
Whether you're preparing for VMware certification, building a personal lab, or deploying enterprise infrastructure, mastering ESXi installation is the first step toward becoming proficient with VMware vSphere.