“Deploying Kemp Load Balancer on Proxmox: Full Step-by-Step Setup Guide”

Load balancers are one of those things you don’t notice—until your website goes down.
Whether you’re running a small business site or a production-grade application, relying on a single server is a risk you can’t afford. Downtime, traffic spikes, and maintenance windows shouldn’t mean your service disappears.
This article is Part 1 of a 3-part series, where I’ll walk you through deploying Kemp LoadMaster inside Proxmox, configuring it for a single website, and integrating it with Cloudflare. The goal is simple: build a reliable, production-ready setup without unnecessary complexity.
This is a practical, step-by-step guide—no theory overload, no vendor hype—just what actually works in real-world environments.
If you’re a system engineer, IT admin, or someone building a homelab or SMB infrastructure, this series will help you achieve high availability, better traffic control, and peace of mind.
Let’s build it.
What you need
- Kemp LoadMaster image file:Best for Proxmox/KVM:
qcow2Also works:vmdk(but import differs) - VM resources (basic):CPU: 2 vCPURAM: 2–4 GBDisk: 20–30 GBNIC: VirtIO
Step 1 — Upload the image to Proxmox
Upload `LoadMaster.vmdk to a node path like:
/var/lib/vz/template/LoadMaster.vmdk
(or just SCP it anywhere)
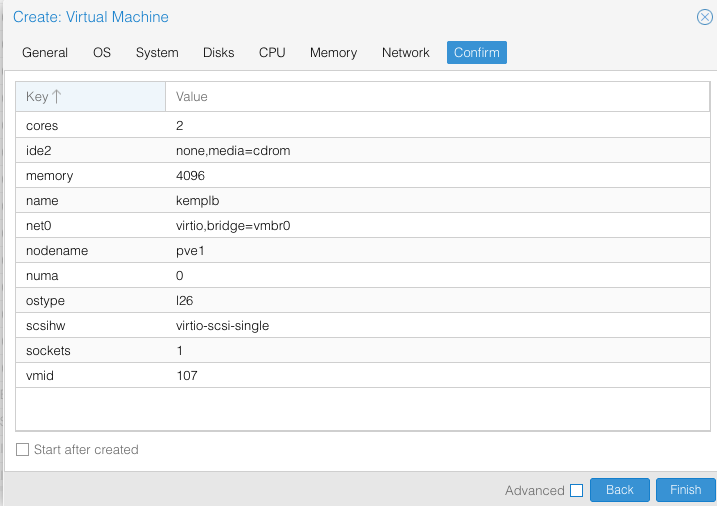
Step 2 — Create an empty VM shell
In Proxmox GUI:
- Create VM
- Name:
kemp-lm - OS: Linux
- System:
- BIOS: SeaBIOS (usually fine)
- Disks:
- You can put a tiny disk or skip if allowed
- CPU/RAM: set your sizing
- Network:
- Model: VirtIO (paravirtualized)
- Bridge:
vmbr0(or your LAN bridge)
- Finish
Step 3 — Import the qcow2 disk into the VM
Pick your storage name (example: local-lvm or local).

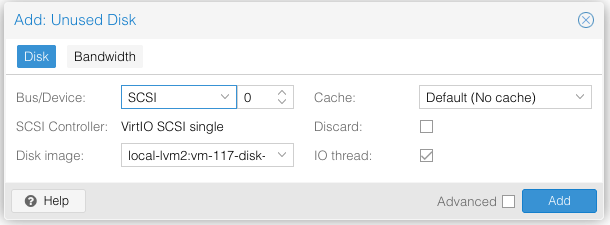
Step 4 — Attach the imported disk as SCSI.
- Select kemplb - > Harwdware
- Select Unused Disk 0 and click Edit - > Add
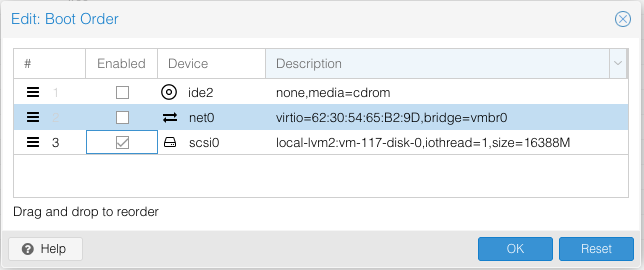
Step 5 — Edit the Boot Order
- Select Option
- Select Boot Order
- Select SCSI and click OK
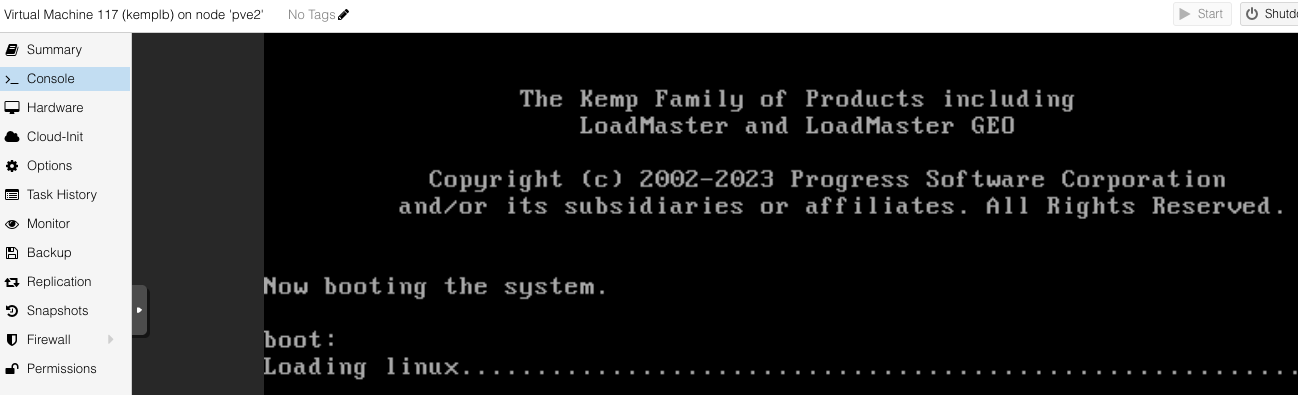
Start the Kemp VM
Wait for completion
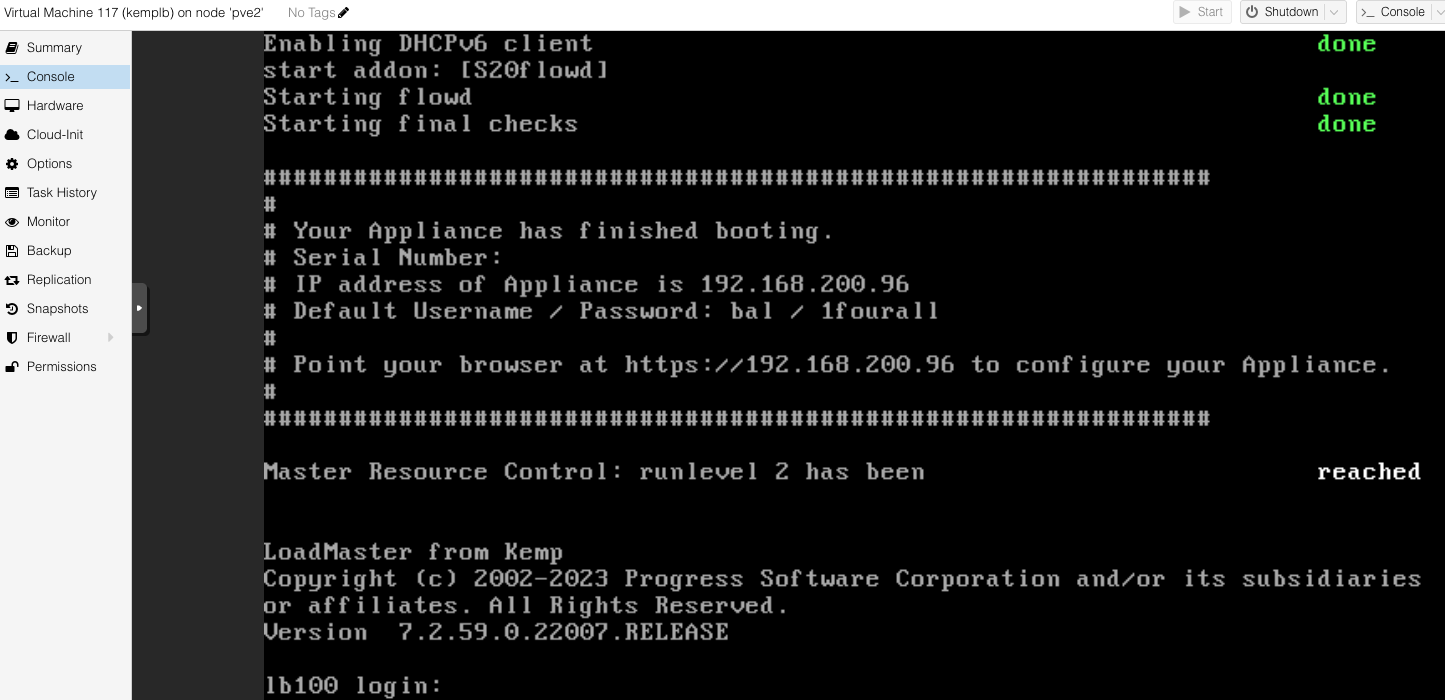
Step 6. Network setup inside Kemp (first boot)
- Login to the console
- Assign IP Address
- Subnet mask
- Default gateway
- DNS
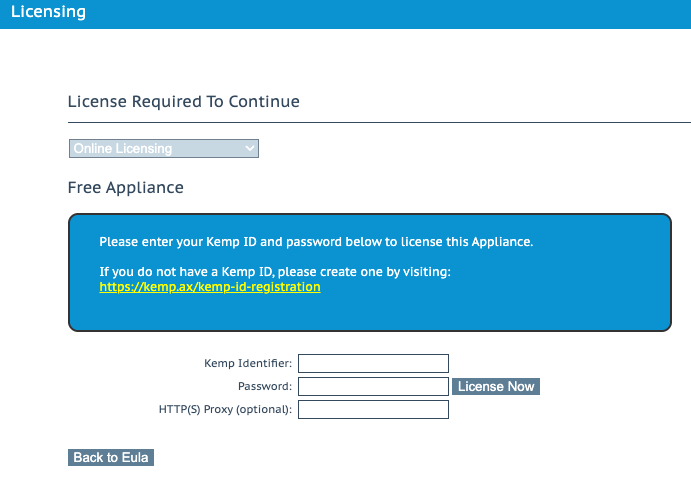
Step 7. Access the Web UI and update the license. Ensure you have proper login in Kemp
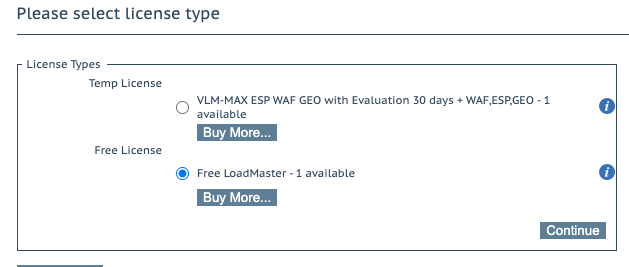
- Select the Free License Type and Continue

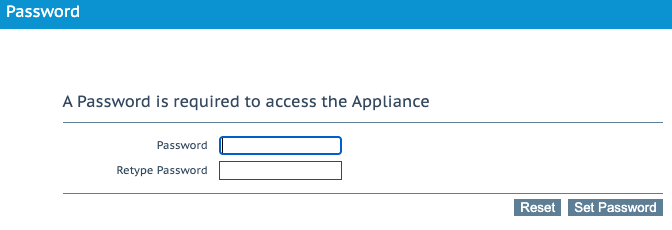
- Set a new Password
🥂 🎉 You have completed the setup of Kemp Load Balancer
In Part 2, we’ll move beyond the basics and dive into virtual services, health checks, and traffic handling inside Kemp LoadMaster. This is where the load balancer starts doing real work—making smarter decisions and keeping your site available even when things go wrong.
Stay tuned.
Part2 Deploying Kemp Load Balancer on Proxmox: Full Step-by-Step Setup Guide
Part3 Deploying Kemp Load Balancer on Proxmox: Full Step-by-Step Setup Guide