“Deploying Kemp Load Balancer on Proxmox: Full Step-by-Step Setup Guide” Part 3
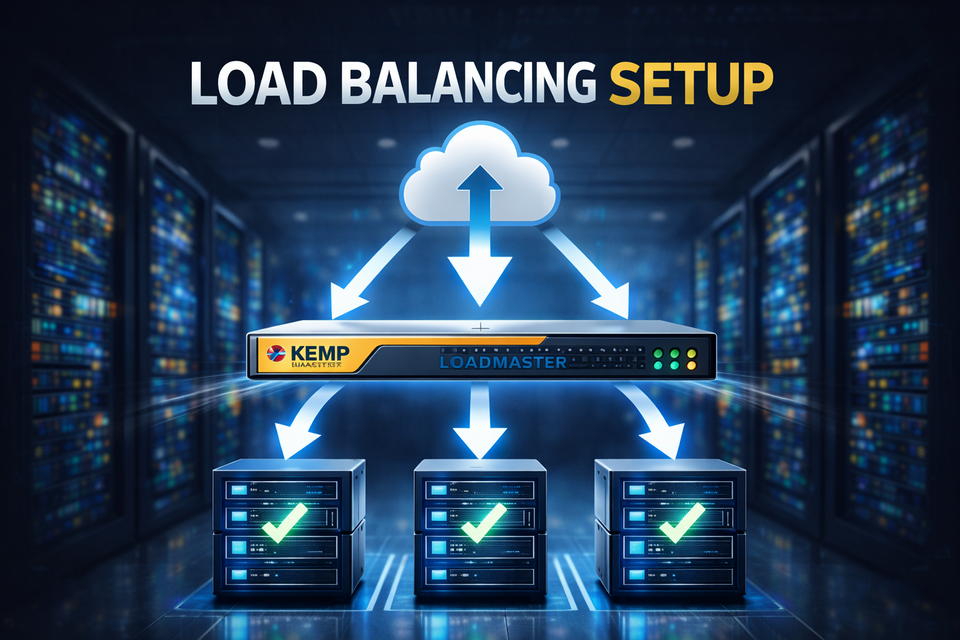
Load balancers are one of those things you don’t notice—until your website goes down.
Whether you’re running a small business site or a production-grade application, relying on a single server is a risk you can’t afford. Downtime, traffic spikes, and maintenance windows shouldn’t mean your service disappears.
This article is Part 3 of a 3-part series, where I’ll walk you through deploying Kemp LoadMaster inside Proxmox, configuring it for a single website, and integrating it with Cloudflare. The goal is simple: build a reliable, production-ready setup without unnecessary complexity.
This is a practical, step-by-step guide—no theory overload, no vendor hype—just what actually works in real-world environments.
If you’re a system engineer, IT admin, or someone building a homelab or SMB infrastructure, this series will help you achieve high availability, better traffic control, and peace of mind.
Let’s build it.
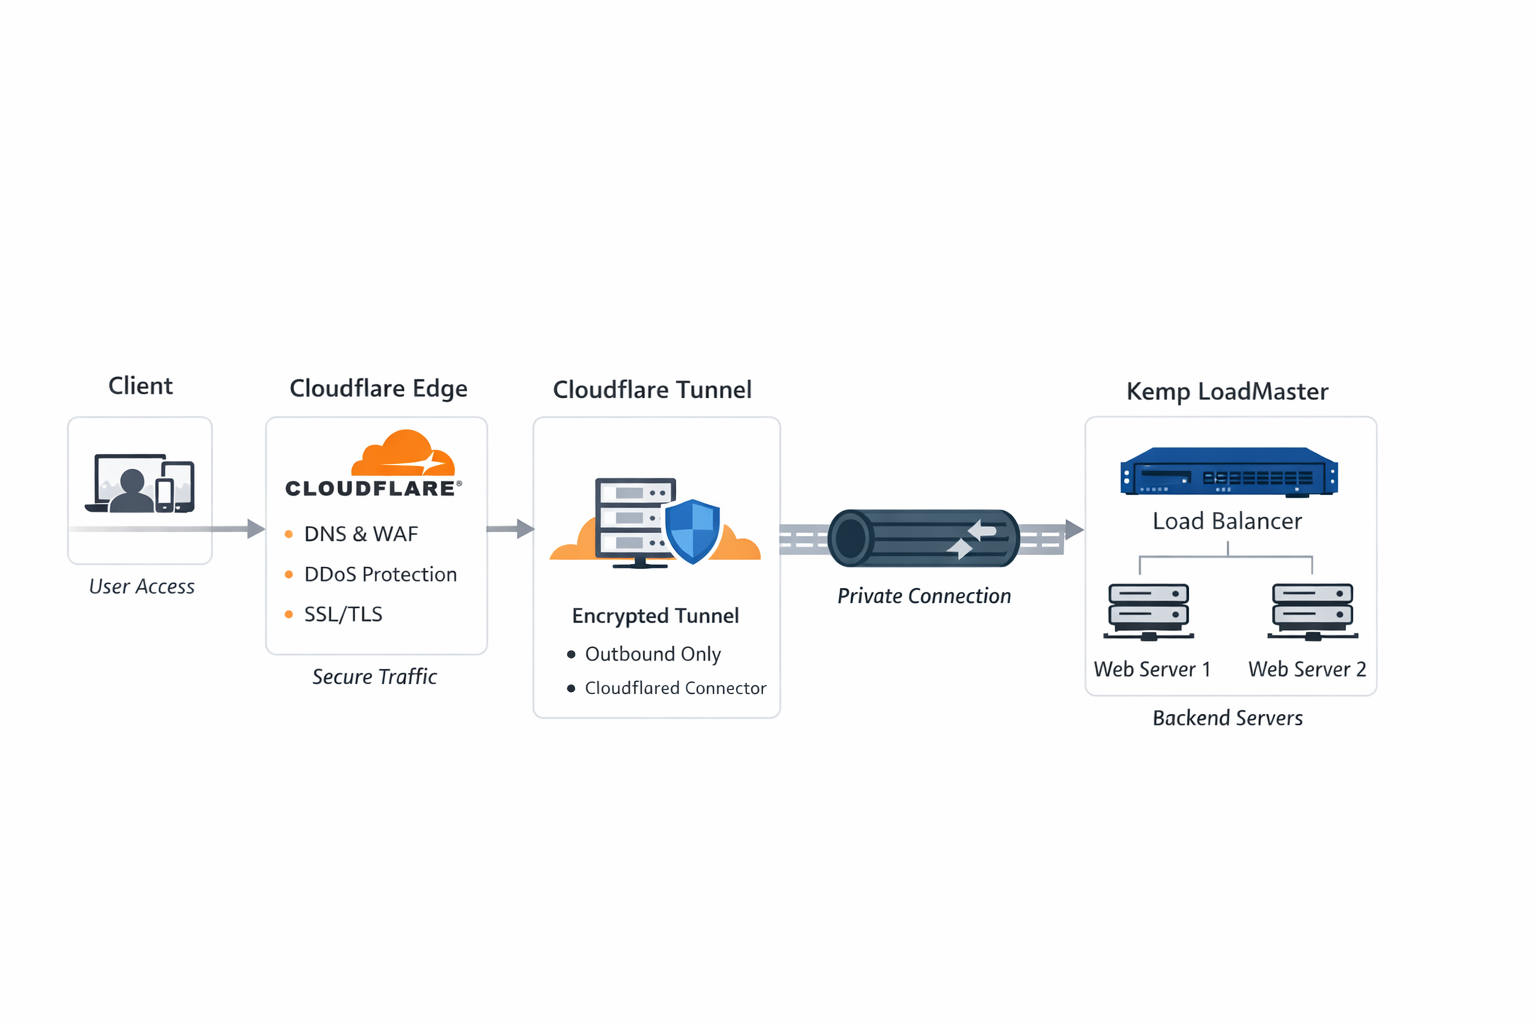
🧭 Architecture
✅ Prerequisites
Before starting, make sure you have the following:
Infrastructure
- Kemp LoadMaster (VM or Hardware)
- At least one backend web server
- Internet access from Kemp LoadMaster
Accounts & Access
- Cloudflare account
- A registered domain name
- Admin access to:
- Cloudflare Dashboard
- Kemp LoadMaster Web UI
Network Requirements
- Outbound HTTPS (TCP 443) allowed from Kemp
- No inbound ports required when using Cloudflare Tunnel
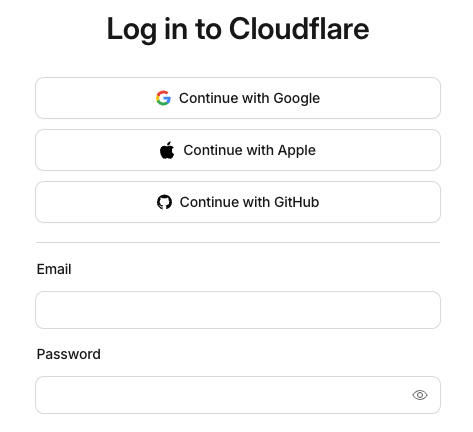
Step 1: Login to CloudFlare Account
Step 2: Go to Connector Tunnel
- Zero Trust - > Network - > Connector

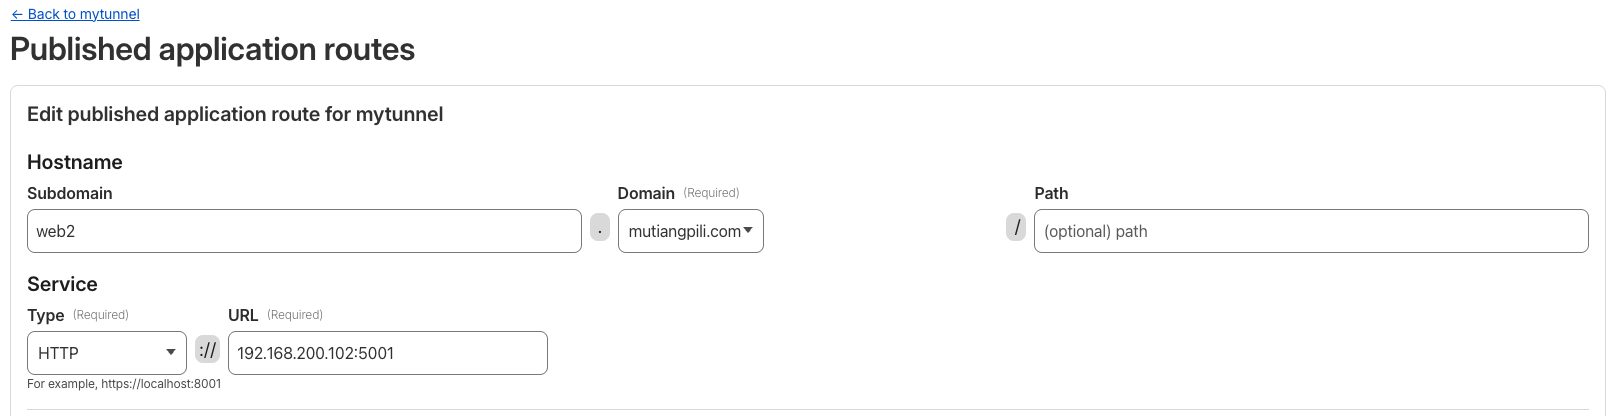
Step 3: Create and publish the Kemp Virtual IP.
Take Note: Do not publish the Kemp Console IP
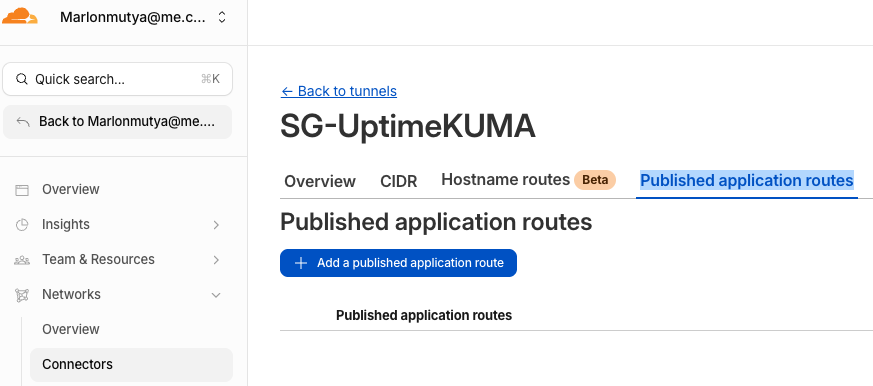
- Select tunnel - > Edit
- Select the Published application routes tab
- Click Add a published application routes button
- Fill-up the following:
- Subdomain: `web2`
- Domain: `yourdomainame.com`
- Type: `http`
- URL: `192.168.200.102:5001' - this is the Virtual IP of the Kemp
- Click Save
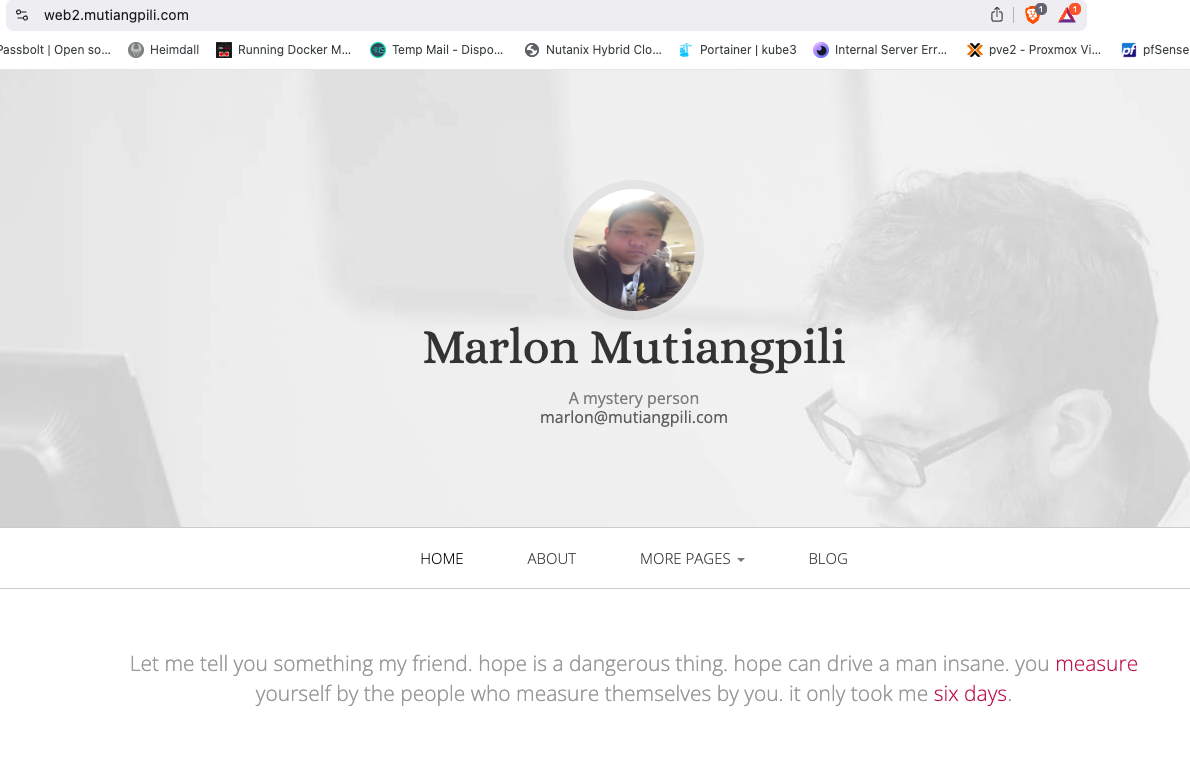
Step 4: Test the new publish website
🎯 Final Thoughts
By combining Kemp LoadMaster + Cloudflare Tunnel, you get:
- Enterprise-grade security
- Zero exposed inbound ports
- Clean, scalable architecture
- Easy SSL and DNS management
This setup is ideal for:
- Production web applications
- Hybrid cloud environments
- Security-focused organizations
Part1 Deploying Kemp Load Balancer on Proxmox: Full Step-by-Step Setup Guide
Part2 Deploying Kemp Load Balancer on Proxmox: Full Step-by-Step Setup Guide