“Deploying Kemp Load Balancer on Proxmox: Full Step-by-Step Setup Guide” Part 2
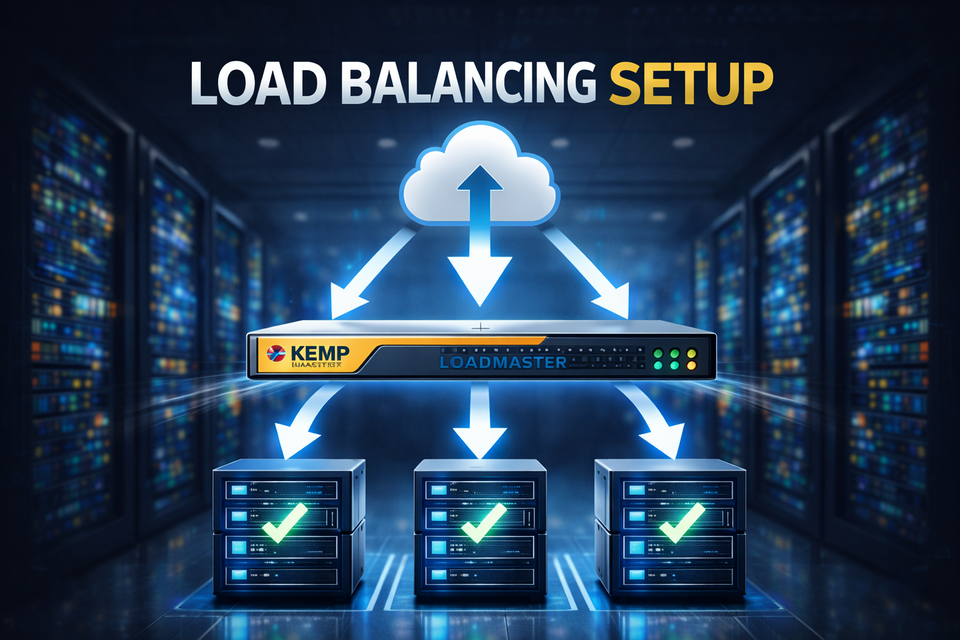
Load balancers are one of those things you don’t notice—until your website goes down.
Whether you’re running a small business site or a production-grade application, relying on a single server is a risk you can’t afford. Downtime, traffic spikes, and maintenance windows shouldn’t mean your service disappears.
This article is Part 2 of a 3-part series, where I’ll walk you through deploying Kemp LoadMaster inside Proxmox, configuring it for a single website, and integrating it with Cloudflare. The goal is simple: build a reliable, production-ready setup without unnecessary complexity.
This is a practical, step-by-step guide—no theory overload, no vendor hype—just what actually works in real-world environments.
If you’re a system engineer, IT admin, or someone building a homelab or SMB infrastructure, this series will help you achieve high availability, better traffic control, and peace of mind.
Let’s build it.
Create the Kemp Virtual Service
- Login to LoadMaster Web UI:
`https://<LoadMaster-IP>' - Go to Virtual Services → Add New

- Set:
- Virtual Address: 192.168.200.102
- Port: 443
- Service Type:
HTTPS
- Click Add this Virtual Service
- Add the Service Name and click Set NickName
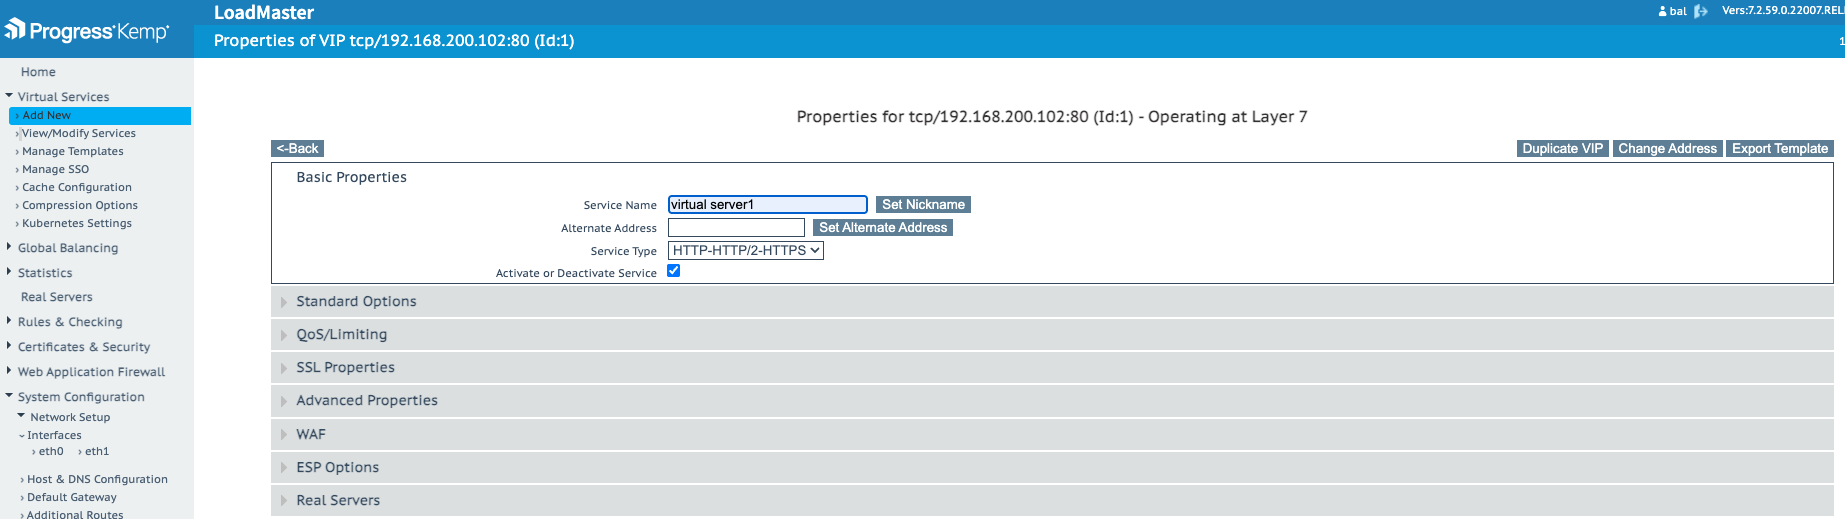
✅ Quick test: From LoadMaster, ensure it can reach your web server IP(s).
Add the Real Server (single backend)
- Open the newly created VIP

- Under Real Servers → Add New
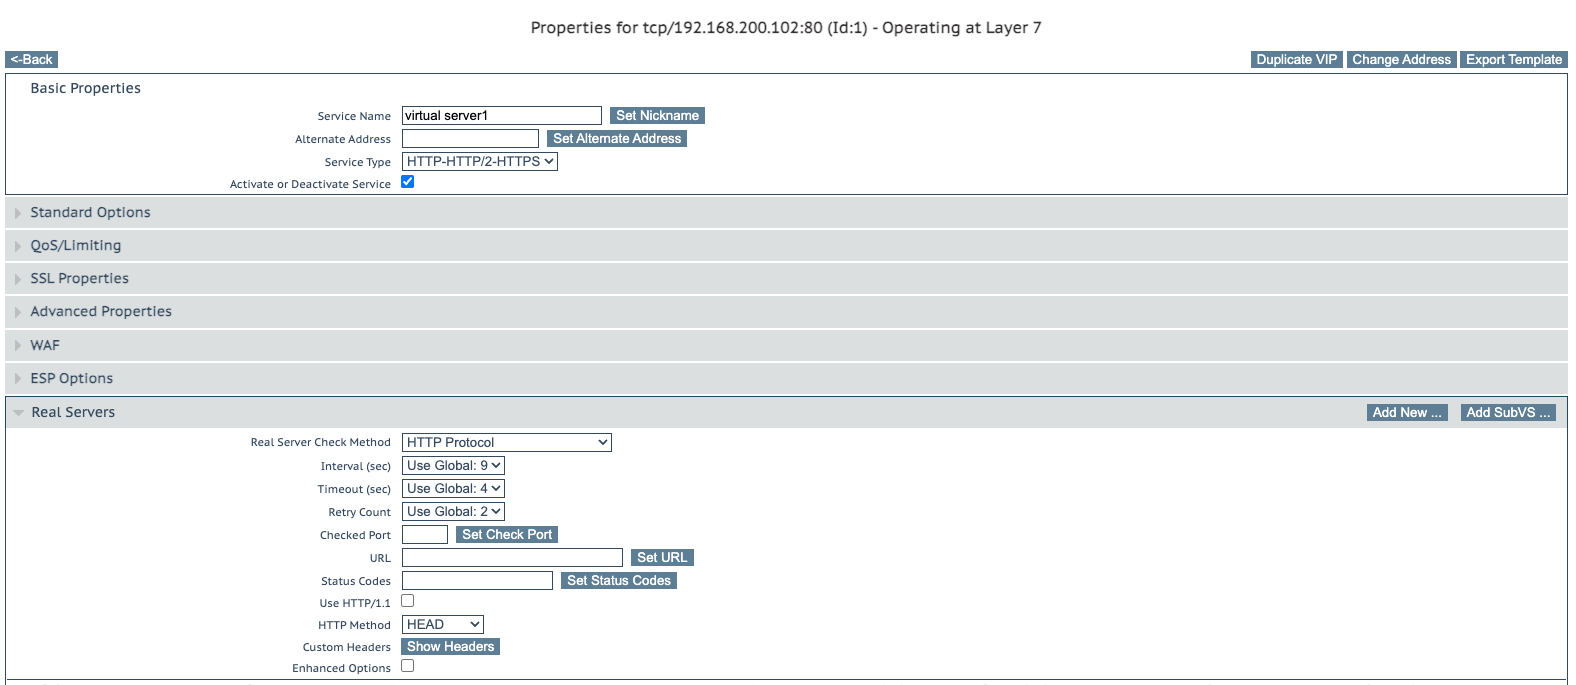
- Enter:
- Real Server Address:
backend-server-ip - Port:
80(or443if backend uses SSL)

- Click Add This Real Server
- Check the Status (it should be Green)

In Part 3, we’ll complete the setup by adding backend servers and validation testing inside Kemp LoadMaster.
This is where everything comes together—ensuring traffic keeps flowing even when a server goes down.
Part1 Deploying Kemp Load Balancer on Proxmox: Full Step-by-Step Setup Guide
Part3 Deploying Kemp Load Balancer on Proxmox: Full Step-by-Step Setup Guide